LiensNC
  • Home
  • The Process
  • How-Tos
  • Resources
  • Contact
  • LOGIN

HOW TO:
​FILE AN APPOINTMENT

Home   |   How-Tos   |   File an Appointment


The Owner Lays the Groundwork for the Project


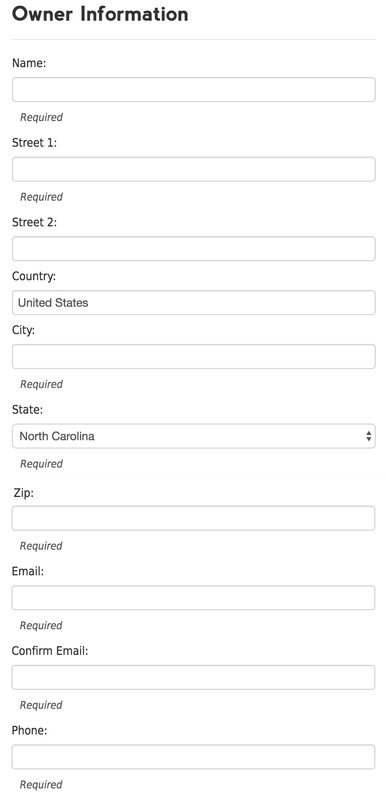
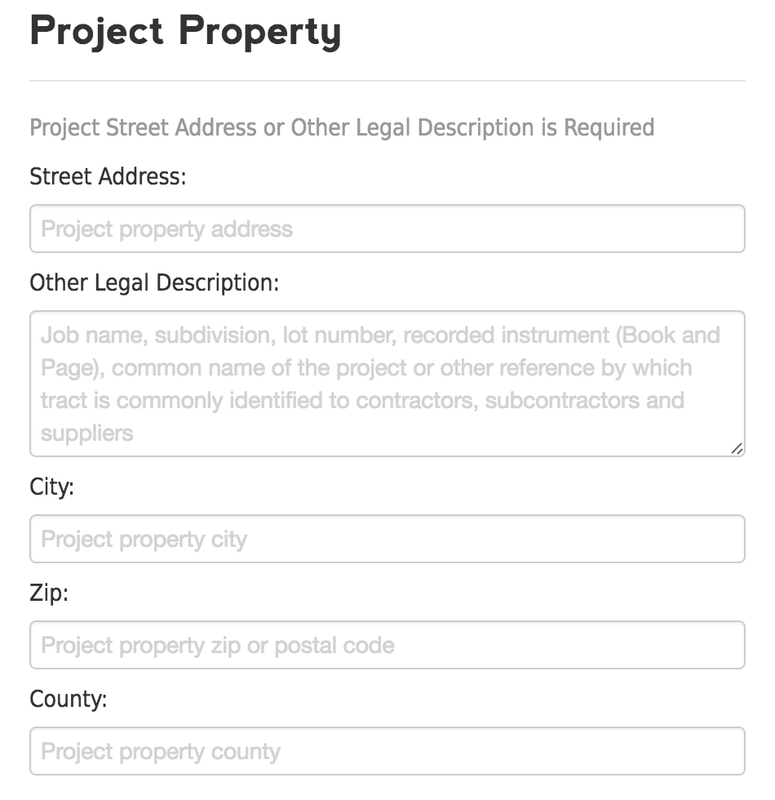
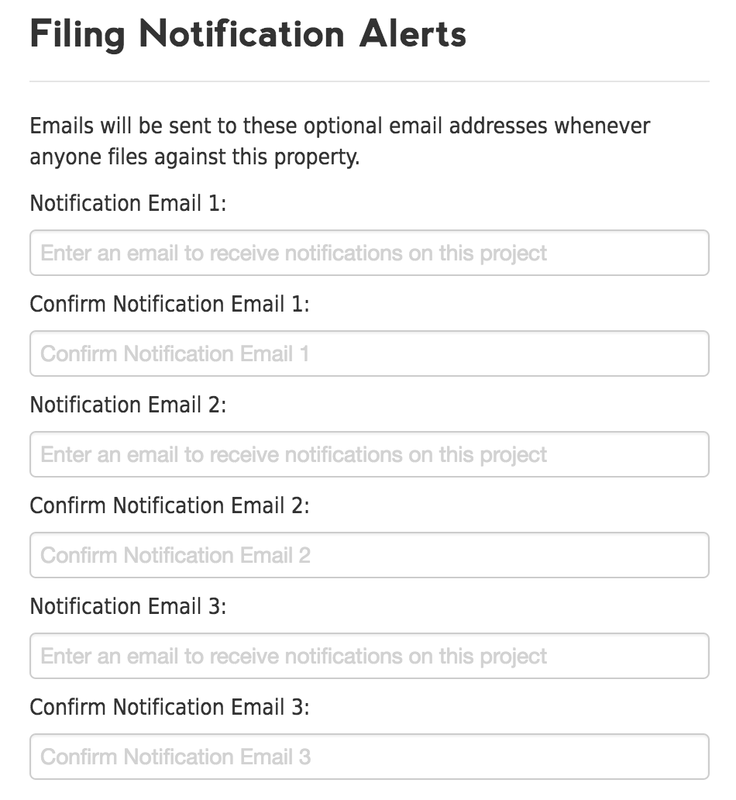
The person or entity who ordered the property improvements (aka Owner) is responsible for filing an Appointment of Lien Agent.

DIRECTIONS

computer
Step 1
Sign up to use the LiensNC system or login with your existing user credentials.
LOGIN   |   SIGN UP

appointment of lien agent button
Step 2
Select the Appointment of Lien Agent option.
lien agent
Step 3
Choose a Lien Agent from the drop-down menu. (All provide the same service)
property owner
Step 4
Provide the contact information for the owner of the project property, including:
  • Name
  • Address
  • Email
  • Phone
Note: This should be the owner's contact information. (NOT a contractor, agent, or authorized representative who may be completing the Appointment on the owner's behalf.)
property address
Step 5
Give details about the project property location, including:
  • Street Address
  • Other legal description (Such as PIN, Tax map/block/lot, etc.)​
​​DEFINITION: Property (i.e. Real Property) refers to the real estate that is being improved. (This includes: structures, lands, leaseholds, tenements, driveways, private roadways, accessory structures, pools, etc. and any furnished materials, such as trees and shrubbery.)
architect
Step 6
If you had/have a contract with any design professionals prior to appointing the Lien Agent for this project, select 'Yes' and provide their contact information. (Example: an architect that drew design plans) Otherwise, choose 'No' if this section does not apply to your project.
houses
Step 7
Choose the property type of the project. (Either 1-2 Family Dwelling or Other)
calendar
Step 8
Provide the date on which the furnishings began or plan to begin. (If known)
contractor
Step 9 (for 1-2 family dwellings only)
Skip this step if the property type is Other.
If  you are a Custom Home Contractor authorized to designate a Lien Agent on behalf of the owner under a written contract, answer Yes to this question and provide your contact information.
email
Step 10
List up to three recipients to receive email notifications whenever future project activity occurs. (i.e. Notice filing or comments added)
forward arrow
Step 11
Select the Continue button.
​(Note: If any errors are encountered, they will display in red text and let you know how to resolve them.)
forward arrow
Step 12
It is very important that you carefully review the information you are about to submit before continuing, since this will be the LAST OPPORTUNITY TO EDIT project information.
pay
shopping cart
Step 13
Choose whether you want to Pay Now or Pay Later.
  • Pay Now - will advance you to the checkout.
  • Pay Later - will place the filing in your Cart  and will not be valid until you submit payment.
payment method
Step 14
Choose the payment method you will be using:
  • Credit Card, or
  • eCheck (i.e. checking account)

LEARN MORE ABOUT PAYMENT INFORMATION
billing information
Step 15
Provide billing and payment information and submit payment for processing.
  1. Provide the customer billing information. ​​(Hint: Customer address must match what the bank/credit card company has on file)
  2. Provide the payment information.
  3. Select Continue.
  4. Verify information is correct.
  5. Select Submit to process payment. (Note: Do not refresh the page or use the back arrow. Refunds will not be given due to user error.)
  6. Select the final Continue option to advance to the user History area of your account. (History is where all of your submitted filings will be listed.)

LEARN MORE ABOUT OUR PRIVACY POLICY

printer
Step 16
On your History page,  you should see a blue Entry Number for each of your submitted filings. (The most recent filing should be located on top.)

Select the printer icon located below the Entry Number. Once you advance to the project details, select the Print Appointment option located at the bottom of the page.

We suggest making three copies of the project details: one for the inspections office, one to post at the job site, and one for your records. (Note: This proof of Lien Agent is required to be continuously posted at the job site.)
qr code
Step 17
You will want to share the Appointment Entry Number with any potential lien claimants that become involved in the project. This gives them an opportunity to file a related Notice to Lien Agent filing. The QR code located on the project details printout is a convenient way for PLCs to file their Notice quickly.
qr code
Step 18
The LiensNC system will automatically send the Lien Agent and any notification subscribers an email to let them know the Appointment was successfully filed. 

QUICK FACTS

DONE BY: 
Owner (or their representative)

PURPOSE: 
Required to be filed for any proposed construction of improvements to real property begun on or after April 1, 2013 (with a few statutory exceptions)

WHEN: 
​At the beginning of any construction on the project property. This must be submitted to the permitting office from which any applicable construction permit is obtained and must be continuously posted at the job site.

COST: $30 per 1-2 family dwelling / $58 per all other properties

SCREENSHOTS
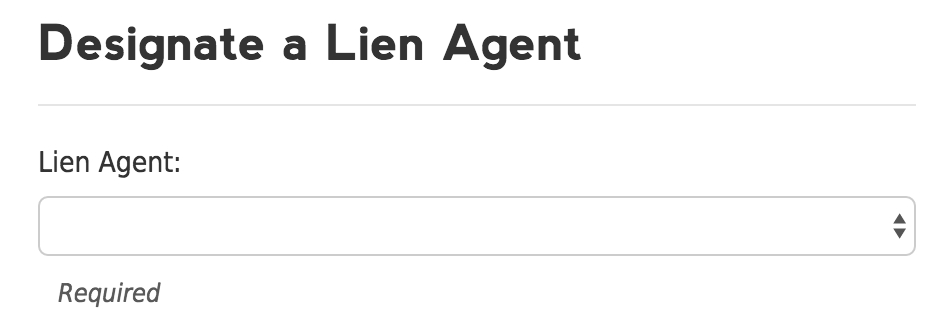
designate a lien agent
owner information
project property
design professionals
property type
date of first furnishing
filing notification alerts
appointment disclaimer
owner

PROCESS

​THE LAW
DEFINITIONS
EXEMPTIONS
ABOUT US
YOUR ROLE

HOW-TOS

FILE APPOINTMENT
FILE NOTICE
PROJECT SEARCH
USER ACCOUNT
ALL HOW-TOS

RESOURCES

​​FAQS
​
LEGAL ADVICE
HELPFUL LINKS
​
TIMESAVING TIPS
LOGIN TO LIENSNC
​​DISCLAIMER: The information on this website should not be considered legal advice.
  • Home
  • The Process
  • How-Tos
  • Resources
  • Contact
  • LOGIN